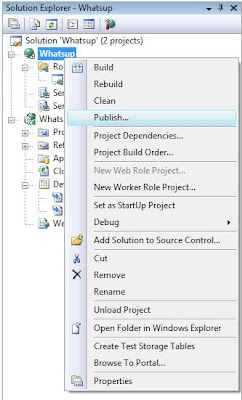
1. In Solution Explorer, right-click the cloud project and select Publish.
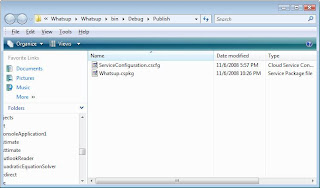
2. The publish folder for your application will open in Windows Explorer, showing a package file and a config file. You'll need those in a moment.
3. The azure.com cloud portal will open up in your web browser (you have signed up and received your cloud account, right? If not, go to http://www.azure.com right now and take care of it).
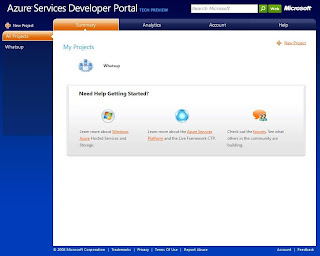
4. Either create a new project on the portal or select an existing one. You'll then be at the page shown below, which I'll refer to as the Environment Page. On the left is a Production environment, and on the right is a Staging environment.
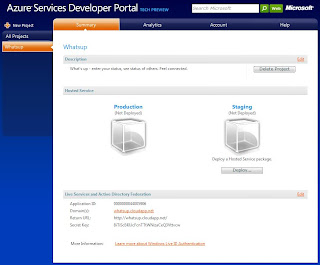
5. If you have a Deploy button under the Staging environment, proceed to Step 6. Otherwise, click Delete to delete the previous deployment. After that a Deploy button should be visible.
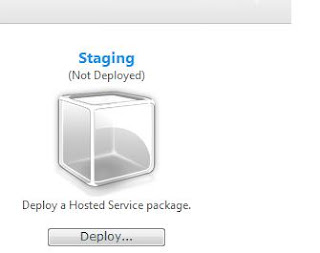
6. Click the Deploy button under Staging and you'll get this Staging Deployment page.
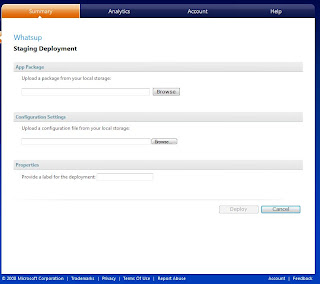
7. Now click the first Browse button and select the .cspkg ("cloud service package") file from the Publish folder that opened up in Step 2. Then click the second Browse button and select the .cscfg ("cloud service config") file. Lastly, enter a label for the deployment, such as a version number.
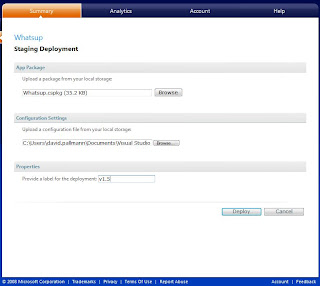
8. Click Deploy and the process will begin. It may take a little while.
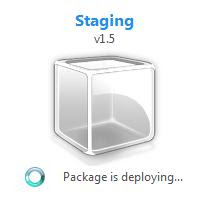
9. Once deployment is complete, you'll be back at the Environment Page and will have new buttons under Staging. Click Run to start your app running in the staging environment.
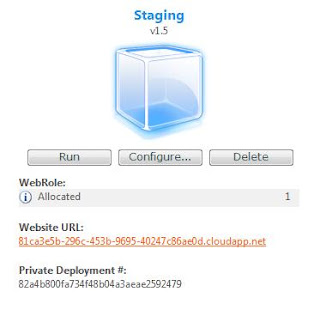
10. To access your app, click on the Website URL link (in red, contains a GUID). Your app will open in a browser window. Try it out and make sure it's working as you expect. You can repeat this entire process as many times as necessary if you need to make changes to your project.
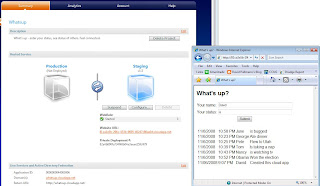
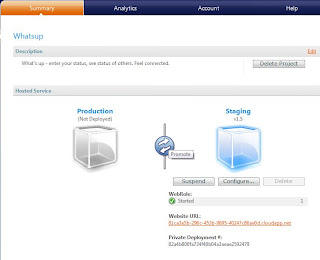
11. Once you're happy with your app in the Staging environment, you can switch it over to Production. Just click the Promote button (blue circle with white arrows).
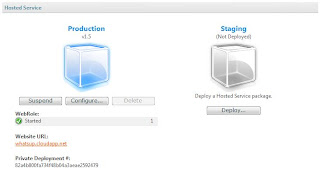
12. After a brief wait, your app has been moved to Production. It can now be accessed at its intended URL. You're done!

2 comments:
Fantastic, thanks David.
Nice and Neat !
Post a Comment